AI@Home, Part 4: Expose services (Open WebUI) to the internet
In this part, I will explain why and how I made Open WebUI available publicly on the internet. First things, first. Why? Because it is possible and it allows me to use the services while being not at home (e.g connecting it to Obsidian or VSCode). I would also consider this as quite safe, as I’m not opening any ports in my router, and also, I use Google Single Sign on to control access to the site itself.
There are a couple ingredients need, to not only to expose Open WebUI but also other services you have running at home and would like to expose. Examples: Nextcloud, your photos via Immich, a bookmark / link grabber like Hoarder, Home Assistant, Paperless-ngx as document storage and so on. But let’s start, what is needed?
- A Domain – obviously. In my case it is this very domain you are looking at. I use it to not only host this WordPress based rubbish blog but also a couple of other things. For this domain, you need to have the authority to set the domain names servers.
- A Cloudflare account: This will serve es the entrypoint for the service you expose. There are other options but I use a so called cloudflare tunnel.
- In my case, a Google account and access to the Google Cloud Console This is used to no mess around with additional authentication. I simply rely on Google for this, other SSO / Oauth provider will work also.
- And of course some hardware to run Open WebUI and a so called Cloudflare Tunnel
Domain: You must have this. Where to get it? That’s up to you. In the next year, I will move this domain to Cloudflare, simply because I’m convinced of the free service they offer. Once you have a domain, you can follow this excellent tutorial from Spaceinvader One to set up Cloudflare. This is how I set up all my services.
While this targeted to Unraid users in the end, it is easily adjustable to non Unraid users. The biggest difference is you need to setup the Unraid tunnel docker yourself, but even that is described in the Cloudflare interface while setting up the tunnel, e.g.
docker run cloudflare/cloudflared:latest tunnel --no-autoupdate run --token secret_token_you_will_see_in_cloudflare
The above example does the setup for Immich, for Open WebUI the approach is completely identical. If you have followed Spaceinvader Ones tutorial you will find your Tunnel in Cloudflare under Zero Trust => Tunnels. The important piece is to configure the tunnel with internal address and port where your instance of Open WebUI is running.
So, let’s say Open WebUI runs on 192.168.0.10:8080 in your local network, then you have to configure the tunnel in Cloudflare accordingly, see below.
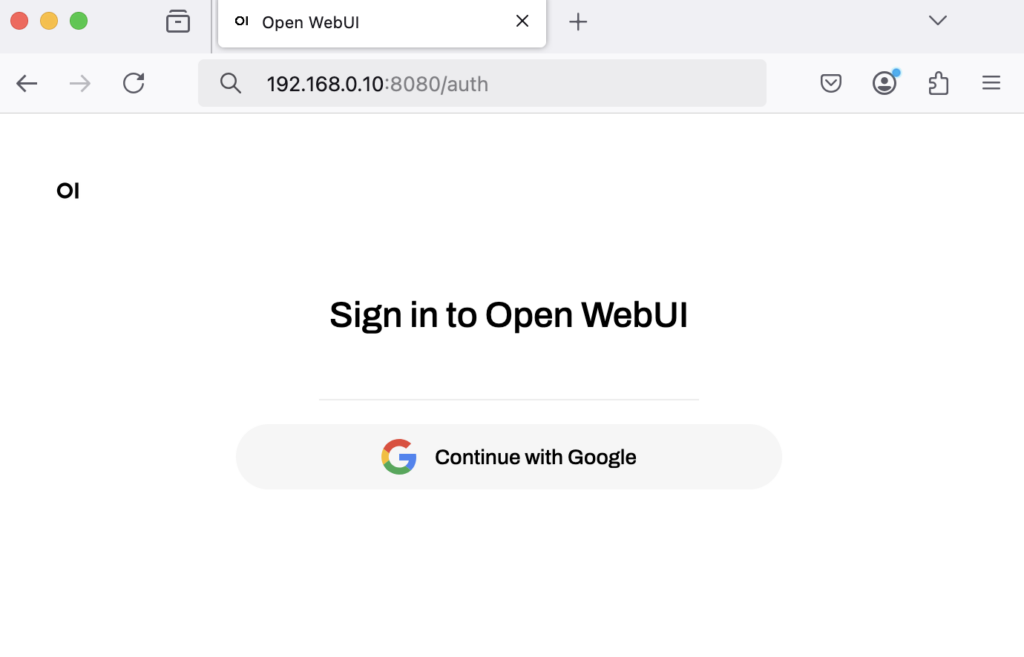
I have configured Open WebUI so that registration is not possible and only a Login via Google is available, see on the right side.
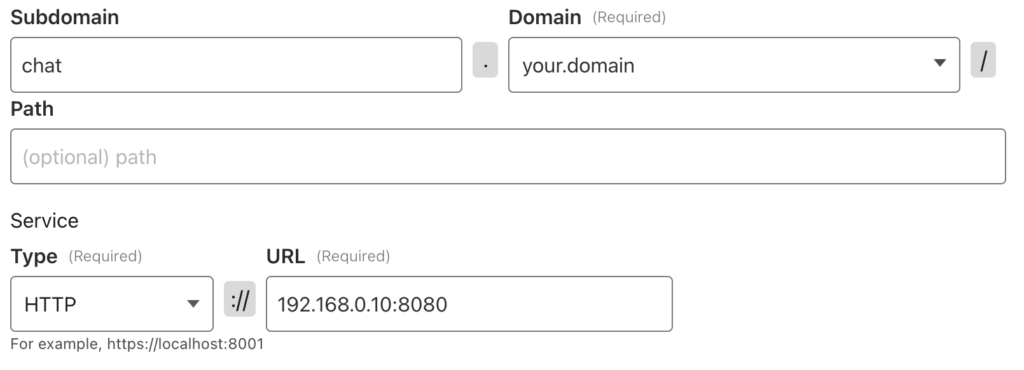
chat will be the subdomain under which Open WebUI will be available in the Internet.
Instead of your.domain you will see your very own down. With this information, the tunnel on the other end respectively your local system is able to route the request to the correct Open WebUI docker container.
If everything is done, you should be able to access you Open WebUI on the public internet under your own domain, e.g. https://chat.your.domain, thanks the Cloudflare being so nice to offer this service within their free plan.
Next is to configure Open WebUI to use an SSO provider for authentication. Why? Because, as far as I know, Open WebUI does not offer any kind of multi-factor authentication. As a personal rule of thumb, I don’t expose anything to the public internet without MFA in place. However, Open WebUI offers the option to delegate authentication to external authentication providers. Since I have a Google account for a very long time, I opted to use their service for authentication. By doing this, I also avoid brute force attacks on a login form – simply because there will be no login form.
Setting up Google OAuth
- Make sure to have a Google Account
- Go to the Google Cloud Console
- On the top left, you can choose a project. It should look like this

- Create a new project by giving a proper name and select the project afterwards.

- After selecting the project you will see the Google Cloud Overview Dashboard for the newly created project. Here is used “My Blog Project”
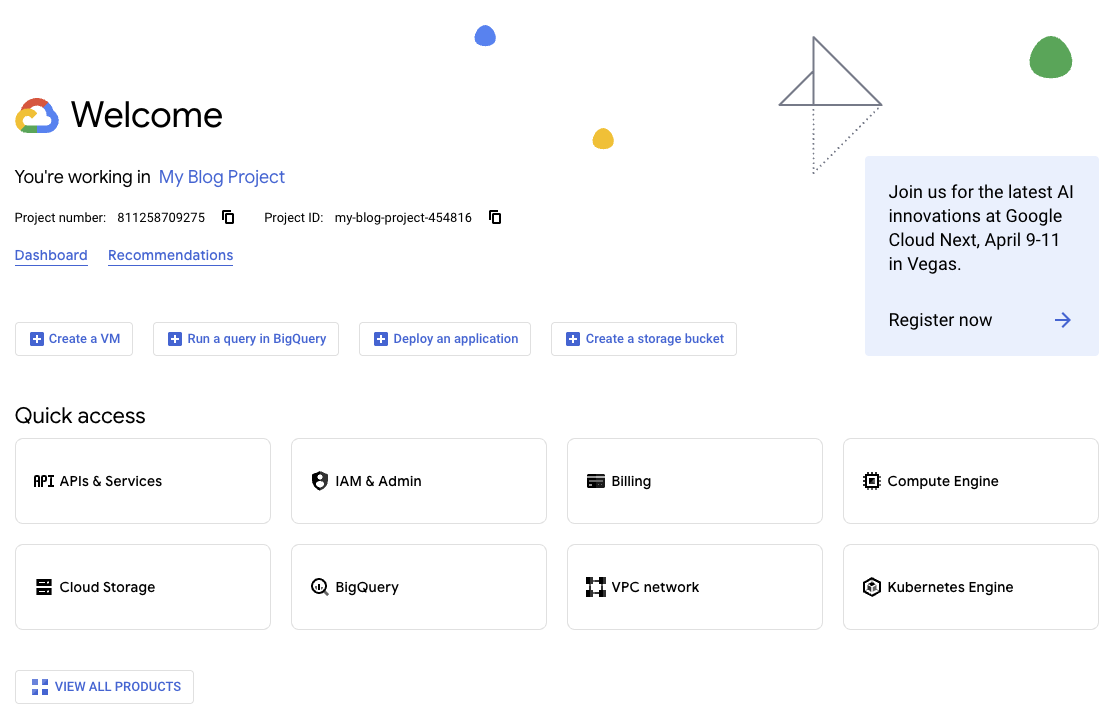
- From here Select APIs & Services
- Next we need an OAuth Consent Screen, Get Started
- Provide an App Name (e.g. Chat or whatever you want to name this) and the required Email address. Then Next
- Then, as I’m not a Google Workspace User, I select External and Next
- Again provide an Email address and Next
- Finally Agree, Continue, and Create
- Next is to configure the OAuth client; therefore continue with Create OAuth Client in the OAuth Overview
- Select Web Application as the Application type and provde some name for the client
- Configure the Authorized JavaScript origins with the domain, e.g.
https://chat.your.domain - Now we need to configure the Authorized redirect URIs. This is important. If you are using Open WebUI according to the documentation, this has to
https://chat.your.domain/oauth/google/callbackor whatever you have configured in the tunnel configuration, see above. Then select Create
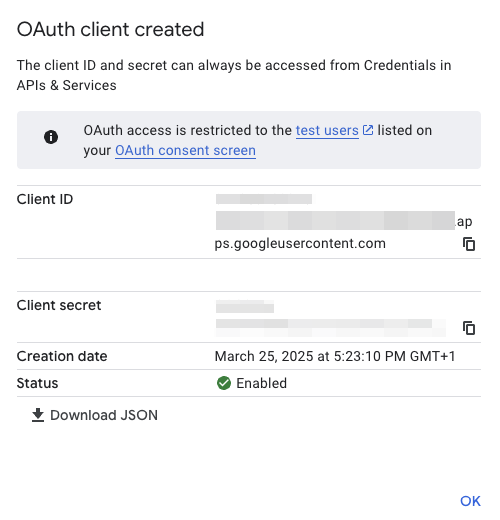
As a result you will receive a confirmation the OAuth client was created. The important pieces are the Client ID and the Client Secret. These are needed in turn to configure Open WebUI (or any other application you might want to put behind Google’s authentication).
Specifying authorized users
When this is done you can configure, which Google user is eligible to access to application. Do so by selecting Audience on the left side. Then Add users under Test users. This allows you to configure up to 100 test user, which is more than enough for my playground. Just enter the respective Google Email addresses and click Save.
Configuring Open WebUI
Now we can go back and use all of this and configure the Open WebUI container accordingly. Depending on the way and OS you are using, you need to provide the container with the following environment variables:
- GOOGLE_CLIENT_ID: with the value you have taken from above
- GOOGLE_CLIENT_SECRET: same here
- OAUTH_MERGE_ACCOUNTS_BY_EMAIL: whether you want to allow merging the Email address when someone logs in by the login form with the email address provided by the OAuth provider. As I have disabled the Form login, this is not important for my setup
- ENABLE_OAUTH_SIGNUP: account can be created when logging in via OAuth. Set this to False
Not OAuth related but also important:
- ENABLE_SIGNUP: do you want people allow to sign up? I have set this to False
- ENABLE_LOGIN_FORM: should it be possible to login via a login form next to the OAuth login. I have set this to False
So in total my configuration looks like this:

And that should be it. You should now be able to
- access you self hosted Open WebUI under the public address you have configured (https://chat.your.domain)
- logging in with a configured Google User – and only with these configured users …
- … hidden behind Google solid authentication solution, essentially preventing you from any brute force attacks, …
- … having everything secured using SSL thanks to the great service from Cloudflare …
- without opening any port in your internet router, again thanks to the great tunnel service provided by Cloudflare
