AI@Home, Part 3: Generating Images with AI
Image generation using large language models like Midjourney, Dall-E, and Adobe Firefly has become immensely popular. This can also be achieved with certain software running on a local system. There are two options for this: Automatic1111 Stable Diffusion Web UI and ComfyUI. Both are user interfaces designed to leverage various available image generation models. For my setup, I chose ComfyUI as it was unclear whether the Stable Diffusion Web UI supported the Flex image generation models from Blackforest Labs. I wanted to use the flex.dev or flex.schnell model as I was extremely impressed by the results I had seen so far.
I will not explain ComfUI in detail (simply for the fact that I’m by now means an expert) but in short ComfUI provides a graphical user interface (GUI) that allows users to create complex image generation workflows by connecting different nodes, each representing a specific function or tool. The workflow I use is shown below.

This uses two specific nodes not coming out of the box with ComfyUI but can be easily installed with the ComyUI Manager.
- The first one is ComfyUI-GGUF. It provides support for loading models in the GGUF format. The Flux model I use is in GGUF format. It also works with other formats.
- Another one I found to be important for my setup with limited resources, is the Latent GC Aggressive. This feature takes care of memory garbage collection once the sample for the image is generated. At least in my observation, it was necessary; otherwise, the VRAM remained occupied, and it was impossible to perform any other interaction with a language model via Ollama. So, after image generation, the memory is cleaned every time. This has an impact on performance, but it wouldn’t work otherwise in coexistence with Ollama and the language models.
- The third one targets upscaling. The image is generated with a resolution of 512 by 512. If I remember correctly, these nodes, Load Upscale Model and Upscale Image (using model), come pre-packaged with ComfyUI. As the name suggests, it simply upscales the model by a certain factor, depending on the model. In my case, I used the RealESGRN_x2.pth, which upscales by a factor of 2.
But first things first.
Installation
In my setup I use the this docker image: https://github.com/mmartial/ComfyUI-Nvidia-Docker. A prerequisite for this is the installation of the proper NVidia Driver under Linux. For Windows please have a look on the respective installation steps. As mentioned previously, I’m using Unraid and this application is available via the Community Application. As I’m using an Nvidia card I also have installed the respective driver.
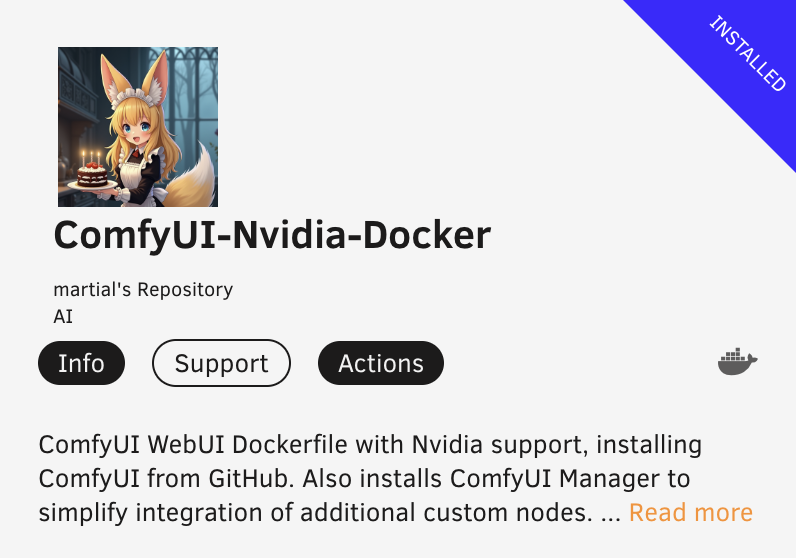
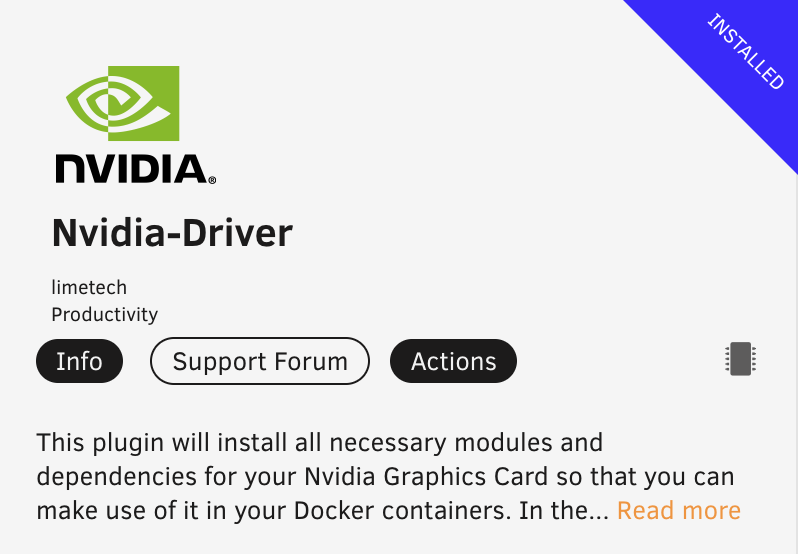
Using plain docker it’s also not complicated, please have a look at the above mentioned Githib page. The fun part is about starts when integrating this with Open WebUI. For this I recommend the following steps:

Make sure you have a running workflow in ComfyUI. If you download this image nd then open it in ComfyUI, it will replicate my workflow. Once you have the workflow, it will most likely not have all required nodes and also not all the used models. I’ll come to that in a moment.
For the missing nodes, open the ComfyUI Manager, got to “Install Missing Nodes” and find and install the above-mentioned packages for ComfyUI-GGF and LatentGC Aggresive.
Now a list of the used models and where to find them:

The actual Flex image generation model as GGUF I took from here.
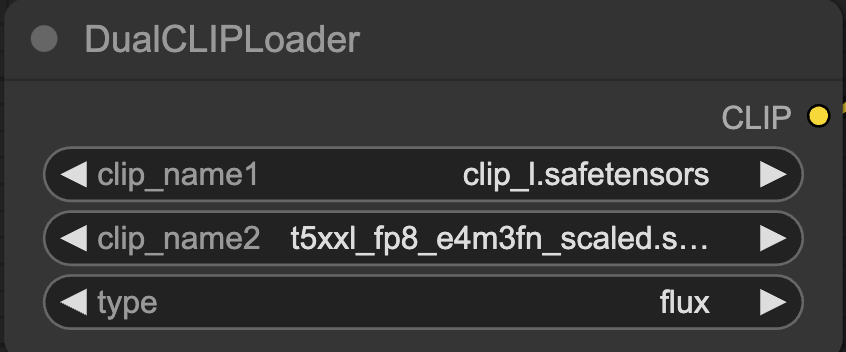
The encoder checkpoints clip_l.safetensors and t5xxl_fp8_e4m3fn are taken from here.
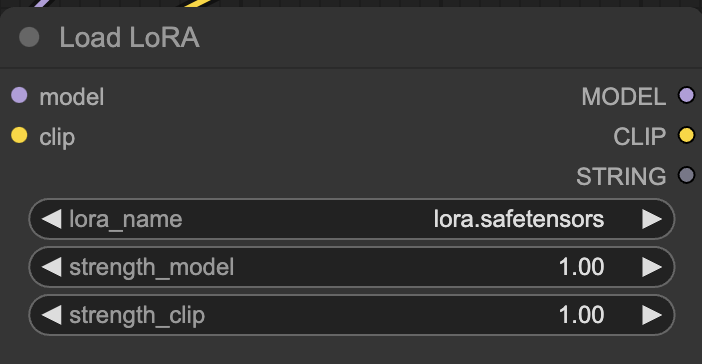
This is optional, but I used a LoRA (Low Rank Adapation) to apply a photo-realistic style. The LoRA is from XLabs and is available here. It is perfectly fine to also apply more than one LoRa by appending them one after the other. In fact, I also trained a LoRA for my own face, so I’m able to put myself in whatever context. It doesn’t necessarily make the images look better though ;-).

The variationel encoder (VAE) is taken from the standard Flux Dev repository.

The upscaling model used, is the RealESRGAN model which upscales images by the factor 2. It is available here, next to models to upscale also by higher factors.
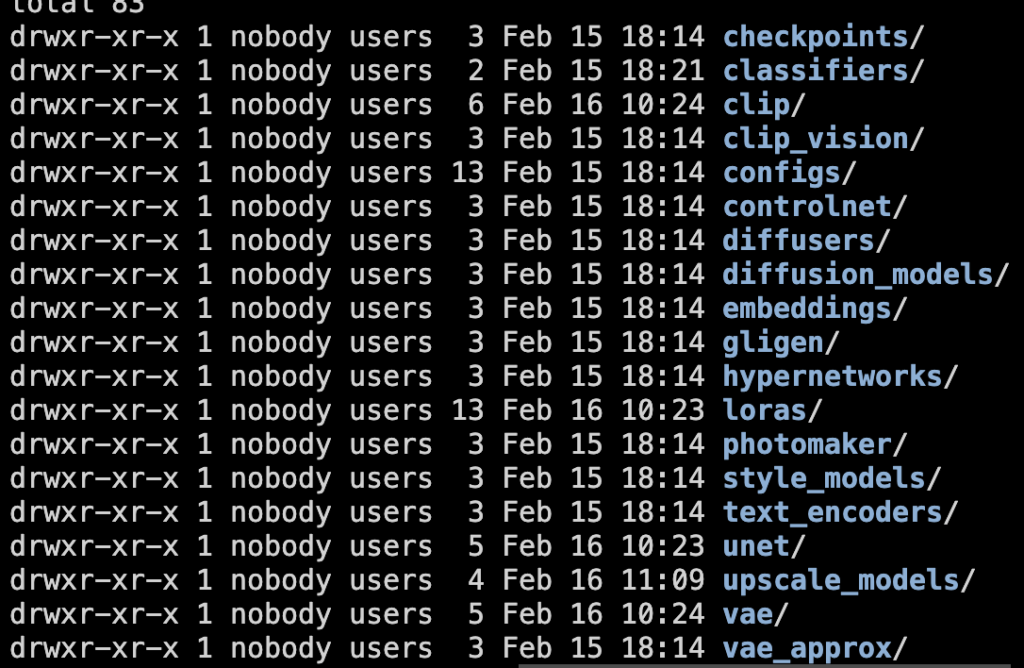
After downloading the models they need to be put into the respective folder below models, in my case under comfyui-nvidia/basedir/models. Once everything is in place, it should be possible to generate images. Next is the integration into Open Web UI
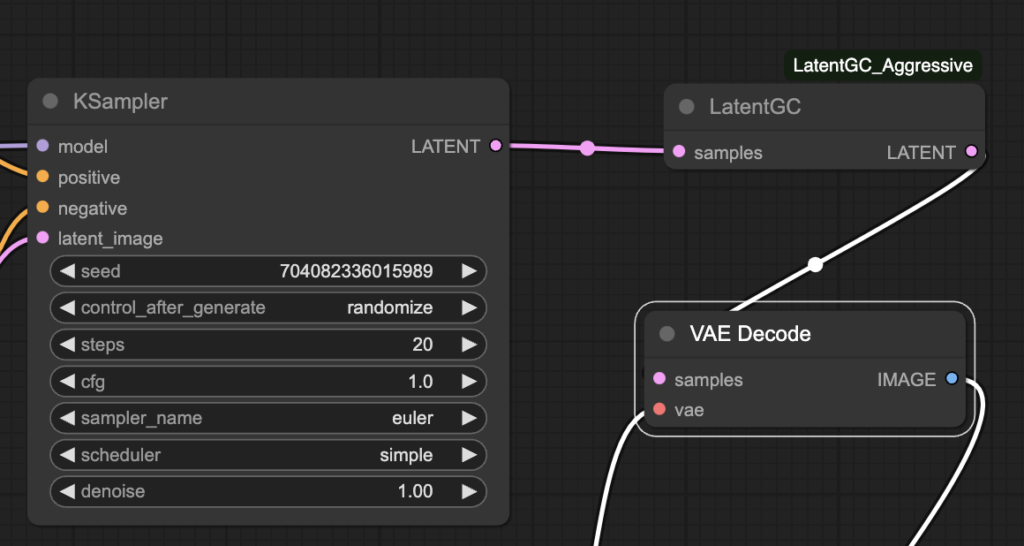
As mentioned above, in my case, due to the limited VRAM resources, it was also necessary to clean the VRAM after each generation. Therefore, I had to insert the LatentGC_Aggressive node between the Sampler and the Decoding, as seen on the left. Otherwise, the VRAM remained occupied and would not be available for subsequent steps.
Open WebUI Integration
To integrate ComfyUI into a chat interfaces, the following steps are required.
- Export the working workflow from ComfyUI as JSON.
- Configure Open WebUI to use ComfyUI.
- Import the exported workflow in Open WebUI and adjust the necessary workflow nodes.
Step 1 is easy. Just use the Workflow menu and export the current workflow as JSON file.

Step 2 is also trivial. In Open WebUI it can be done in the administration section under image settings. Make sure to have the URL ready where ComfyUI is running
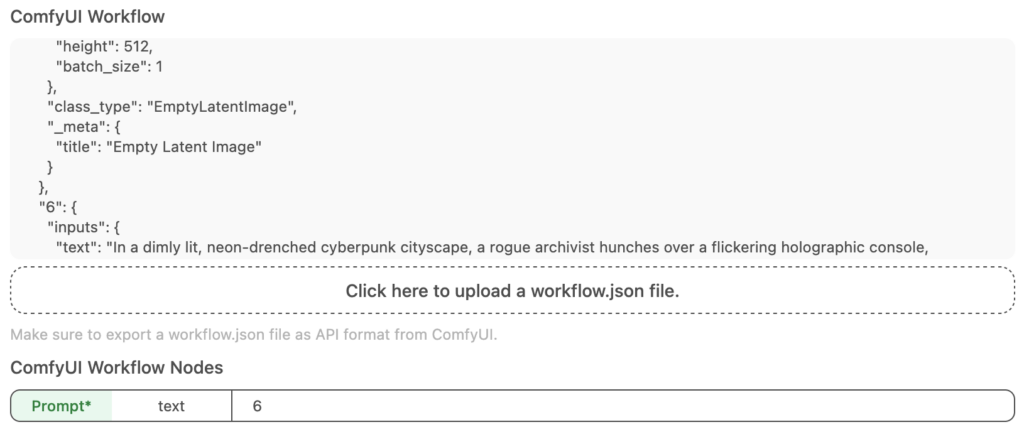
Step 3 requires a little bit of fiddling. Start by uploading the workflow. Then, within the load JSON file you need to find the node numbers and set them, so that Open WebUI is able to set these parameters. In my example the first node to define is the actual node for the prompt. Here it is the node 6 (in the JSON) which is then defined also ComfyUI Nodes workflow below.
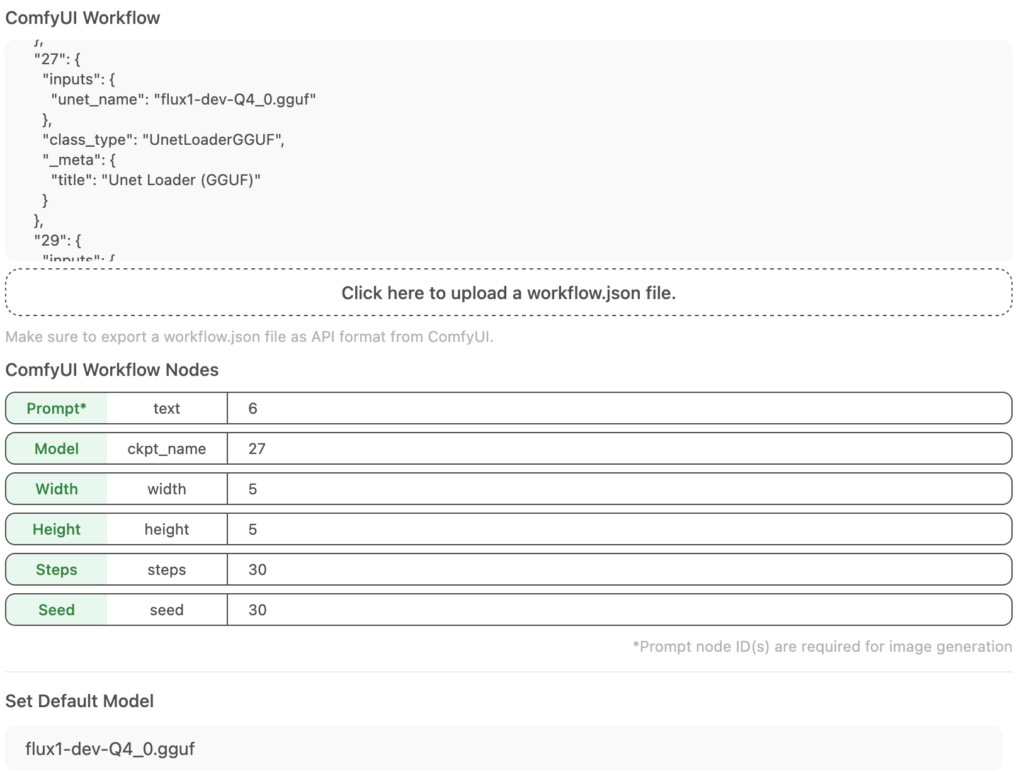
Simliar to setting the prompt, also model for the image generation is defined. In my example on the left, it is node number 27. The model name which Open WebUI hands over to ComfyUI is then defined in the textbox below, flux1-dev-Q4_0.gguf in this case. By this, it possible to use also different models from within Open WebUI.
The same process then needs to be followed for the rest of the parameters with, height, steps, and seed. For steps, and seed again, this is not the seed or the of number of steps itself but the node for seed and steps.
Done! For Image generation out of Open WebUI two options exist. Straight forward, by just selecting the Image button in the prompt field. In this case, the given prompt is used for image generation.

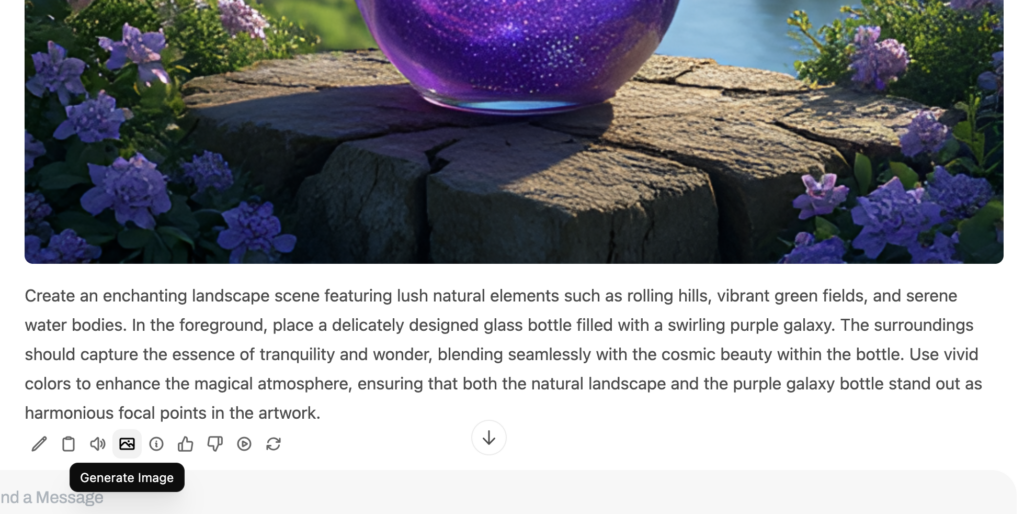
The second option is the to generate an image by using the response from the large language model to generate an image out of this. Underneath the generated prompt there is a little icon saying Generate Image.
Done!
